I learned two ways to watermark an image in python
- Watermarking with PIllow
- Watermarking with OpenCV
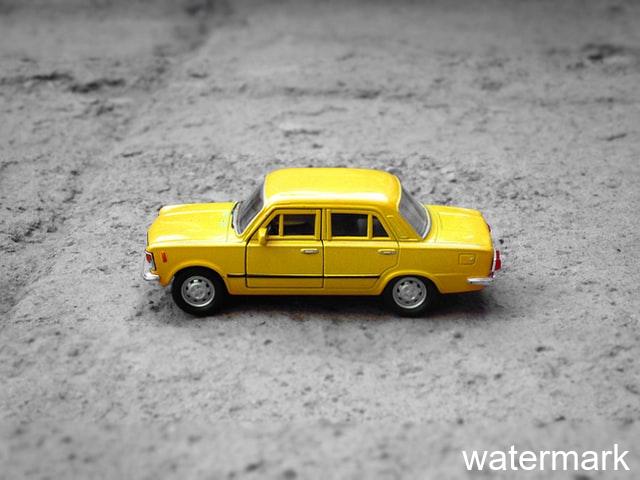
Watermarking with PIllow
Add the word “watermark” to the lower right corner of the image.
First pip3 install pillow.
PIL = Python Imaging Library
Open the original image in PIL’s Image (this time using an image that does not need to be resized)
from PIL import Image, ImageDraw, ImageFont

# Create an Image Object from an Image
im = Image.open('images/sample.jpg')
width, height = im.size
Using PIL’s ImageDraw to set up a Watermark
In the “text” section, enter the text you want to display.
font to set the font and size
# Watermark Settings
draw = ImageDraw.Draw(im)
text = "watermark"                  # 好きな文字を入力
font = ImageFont.truetype('arial.ttf', 36)
textwidth, textheight = draw.textsize(text, font)
Specify where you want the watermark to appear in the original image
This time, show lower right (for upper left, simply x = 10, y = 10)
# Bottom Right Corner: x,y coordinates
margin = 10
x = width - textwidth - margin
y = height - textheight - margin

# Top Left Corner: x,y coordinates  画像左上に付けたい場合
# x = 10
# y = 10
Add a watermark to the original image, show() to display it, and save() to specify the destination and name.
# Add Watermark
draw.text((x, y), text, font=font)
im.show()

# Name and Save watermarked Image 任意の名前で保存
im.save('images/watermark1.jpg')
The entire code is here.
from PIL import Image, ImageDraw, ImageFont

# Create an Image Object from an Image
im = Image.open('images/sample.jpg')
width, height = im.size

# Watermark Settings
draw = ImageDraw.Draw(im)
text = "watermark"                  # 好きな文字を入力
font = ImageFont.truetype('arial.ttf', 36)
textwidth, textheight = draw.textsize(text, font)

# Bottom Right Corner: x,y coordinates
margin = 10
x = width - textwidth - margin
y = height - textheight - margin

# Top Left Corner: x,y coordinates  画像左上に付けたい場合
# x = 10
# y = 10

# Add Watermark
draw.text((x, y), text, font=font)
im.show()

# Name and Save watermarked Image 任意の名前で保存
im.save('images/watermark1.jpg')
See here for “Composition of two images” using Pillow instead of text.
Watermarking with OpenCV
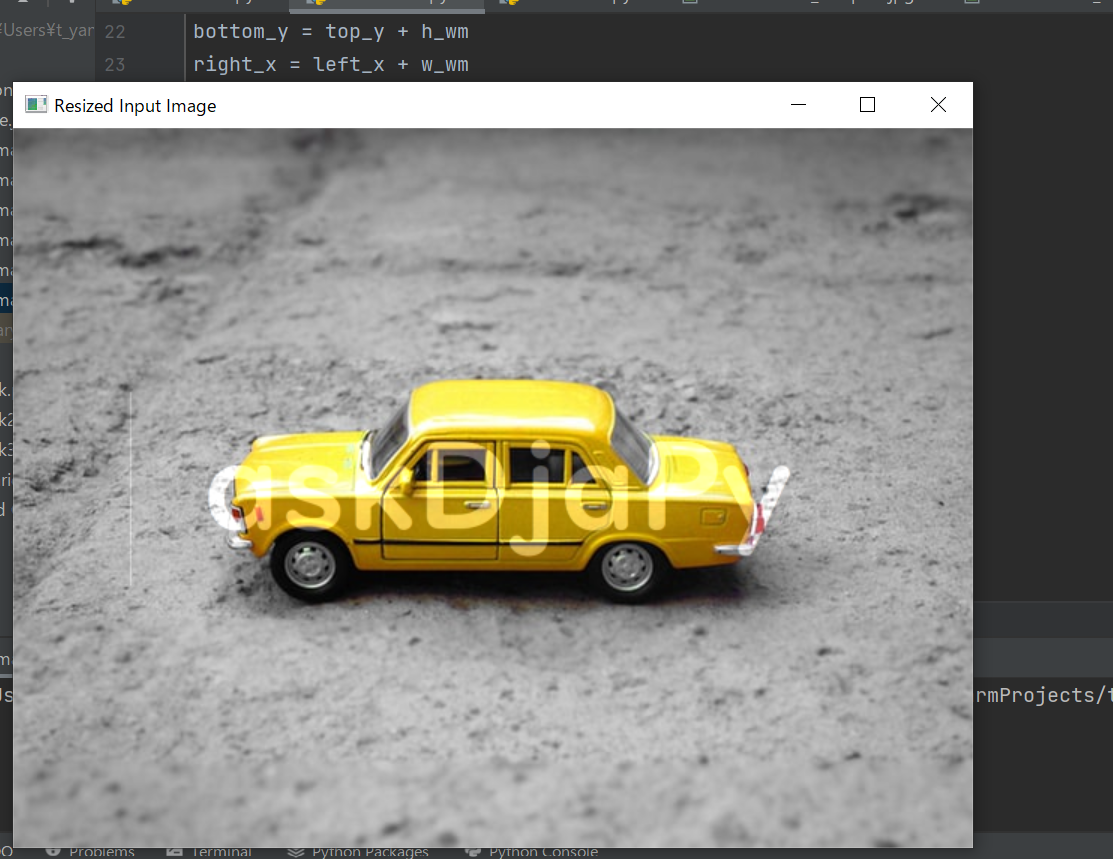
Display “png” saved image in the center of the image with watermark.

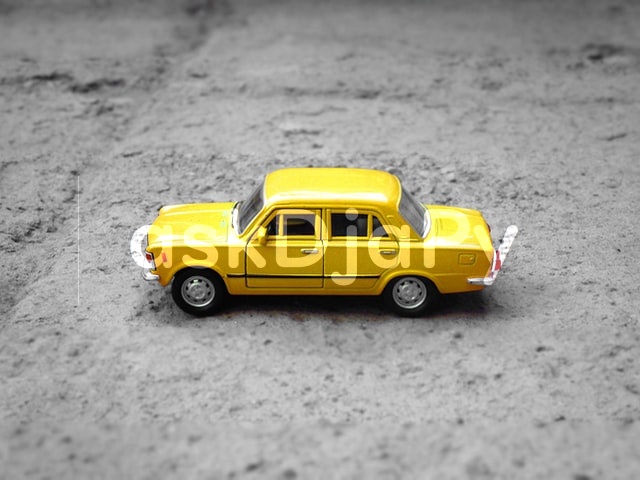
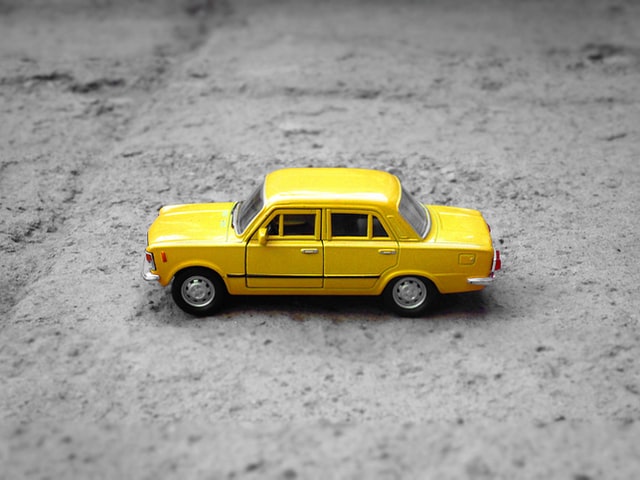
Watermark images used in this project:.
When I tried to synthesize with OpenCV, the term “perform alpha blending” came up frequently. Noted.It seems to mean “specify which part of the image to make transparent and by how much.
See here for a simple method of merging two images.
First import cv2 and load the original image and watermark image (PNG)
cv2.imread( ), enter file name
import cv2

# Read and Show Image
img = cv2.imread('images/sample.JPG')
watermark = cv2.imread("images/logo.PNG")
The image size of the watermark was too large, I resized it.
INTERPOLATION=cv2.INTER_AREA: It is stated that “moiré can be avoided when the image is significantly reduced”, but what is “moiré”? What is it? See here for the “moire”
In computer image processing, moiré can occur in the same way as in printing, because images are expressed by decomposing them into periodically arranged vertical and horizontal dots called pixels. In the image processing process, moiré tends to occur when the number of vertical and horizontal pixels is reduced or transformed to a size other than an integer fraction of a pixel. In graphics software, if the reduction is merely a thinning process, an unexpected pattern may appear (false resolution).
引用:Wikipedia
So I used interpolation=cv2.INTER_AREA (moire prevention) since the size was greatly reduced.
# Resize Watermark Image サイズを縮小したい場合
wm_scale = 40
wm_width = int(watermark.shape[1] * wm_scale/100)
wm_height = int(watermark.shape[0] * wm_scale/100)
wm_dim = (wm_width, wm_height)
resized_wm = cv2.resize(watermark, wm_dim, interpolation=cv2.INTER_AREA)
Set the watermark display location. This time, it is displayed in the center.
# Center: x,y coordinates 中央に表示させたい場合
h_img, w_img, _ = img.shape
center_y = int(h_img/2)
center_x = int(w_img/2)
h_wm, w_wm, _ = resized_wm.shape
top_y = center_y - int(h_wm/2)
left_x = center_x - int(w_wm/2)
bottom_y = top_y + h_wm
right_x = left_x + w_wm
The mysterious ROI has arrived! I’ll look into it right away: ROI (Rectangular Region of interest )
A region of interest (ROI) is an area of image data that is selected for manipulation.
It is also called “target area,” “region of interest,” “region of interest,” “window image,” etc.
# Get the Rectangular Region of interest (ROI) and name it ‘roi’
roi = img[top_y:bottom_y, left_x:right_x]

result = cv2.addWeighted(roi, 1, resized_wm, 0.3, 0)
img[top_y:bottom_y, left_x:right_x] = result
Finally, specify the destination and name.
In the last three lines, if the parentheses in cv2.waitkey(0) are set to zero, the process waits until the keyboard is pressed. When the code is executed, the created image pops up and disappears when any key is pressed. By the way, if the number in parentheses is set to (1000), the image is displayed for 1 second and then disappears.
# Where to Save, Name the Watermarked Image 任意のフォルダに保存
filename = 'images/watermarked_sample.jpg'
cv2.imwrite(filename, img)

cv2.imshow("Resized Input Image", img)
cv2.waitKey(0)
cv2.destroyAllWindows()
Here is the code that summarizes the above:
import cv2

# Read and Show Image
img = cv2.imread('images/sample.JPG')
watermark = cv2.imread("images/logo.PNG")

# Resize Watermark Image サイズを縮小したい場合
wm_scale = 40
wm_width = int(watermark.shape[1] * wm_scale/100)
wm_height = int(watermark.shape[0] * wm_scale/100)
wm_dim = (wm_width, wm_height)
resized_wm = cv2.resize(watermark, wm_dim, interpolation=cv2.INTER_AREA)

# Center: x,y coordinates 中央に表示させたい場合
h_img, w_img, _ = img.shape
center_y = int(h_img/2)
center_x = int(w_img/2)
h_wm, w_wm, _ = resized_wm.shape
top_y = center_y - int(h_wm/2)
left_x = center_x - int(w_wm/2)
bottom_y = top_y + h_wm
right_x = left_x + w_wm

# Get the Rectangular Region of interest (ROI) and name it ‘roi’
roi = img[top_y:bottom_y, left_x:right_x]

result = cv2.addWeighted(roi, 1, resized_wm, 0.3, 0)
img[top_y:bottom_y, left_x:right_x] = result

# Where to Save, Name the Watermarked Image 任意のフォルダに保存
filename = 'images/watermarked_sample.jpg'
cv2.imwrite(filename, img)

cv2.imshow("Resized Input Image", img)
cv2.waitKey(0)
cv2.destroyAllWindows()
summary
python image processing is deep. There are many other libraries that may be useful. I’m also interested in imutils, which I didn’t introduce in this article, but I’m tired of two codes this time, so I’ll stop here.