Deploy WordPress to AWS Step #01
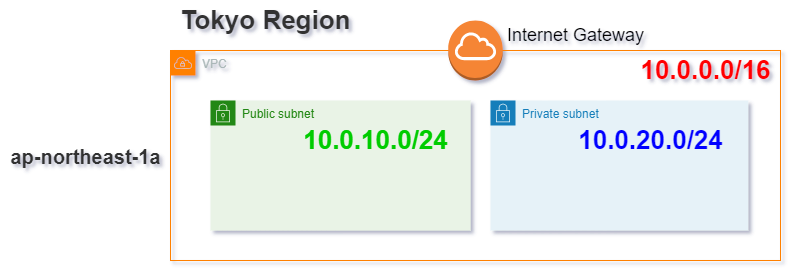
To understand AWS infrastructure, let’s create a simple corporate site in WordPress. For the static corporate site we are creating, services such as Amazon Lightsail is cheaper and easier to deploy, but for the purpose of learning AWS infrastructure, we will use EC2, S3, RDS, Route53 this time.
Create Your Account
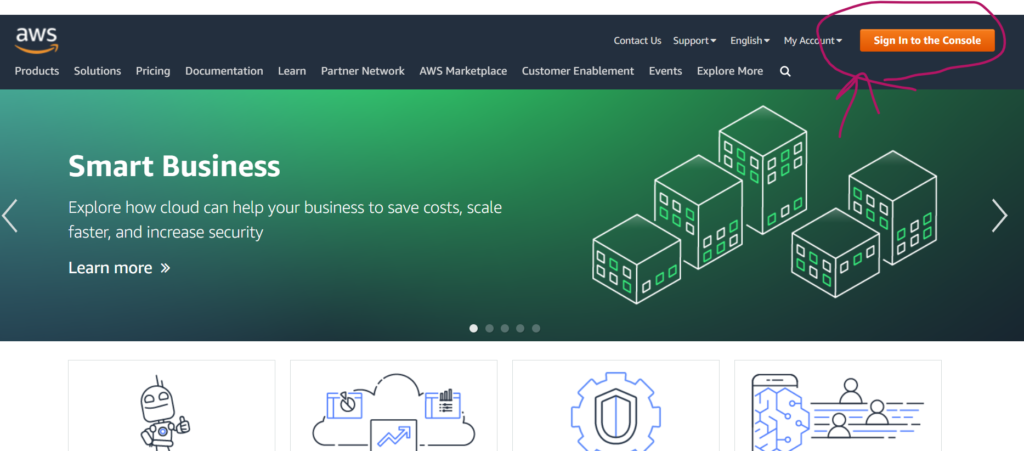
If you do not already have an account, first create one with AWS. Be careful not to lose the email address and password you use to register. You will also need to register a credit card when you create your account.
As for the support plan, since it is for practice, the free Basic Plan is sufficient.
Before We Begin
The AWS service is a pay-as-you-go system, which gives the impression that it is affordable, but the EC2 and RDS you create during your practice will be charged while they are running, so remember to stop the servers when you leave your computer.
If this is your first time to create an account with AWS, you can use the free account, but even in that case, you should stop the server frequently during the practice so as not to waste the free account.
Set up fee alerts in CloudWatch
- Enabling billing alerts
- Creating a billing alarm
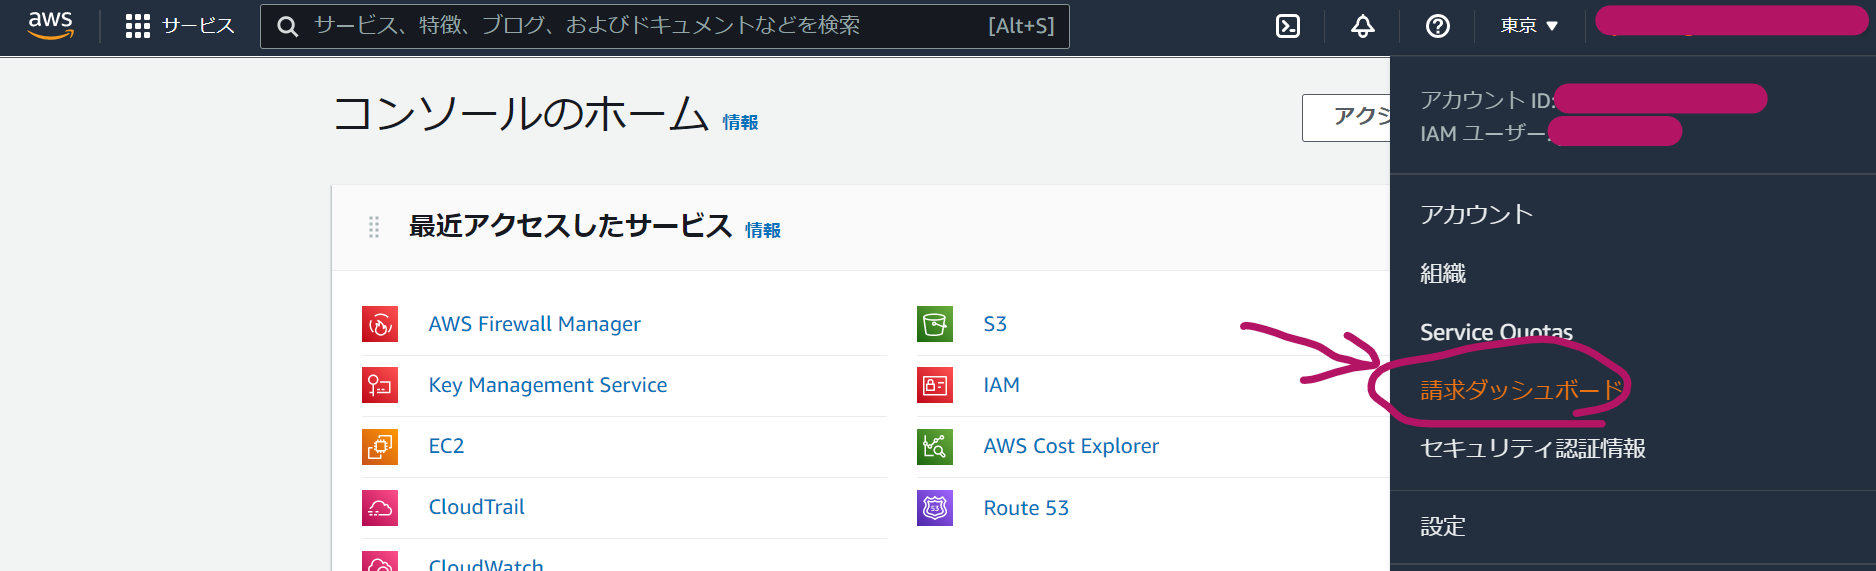
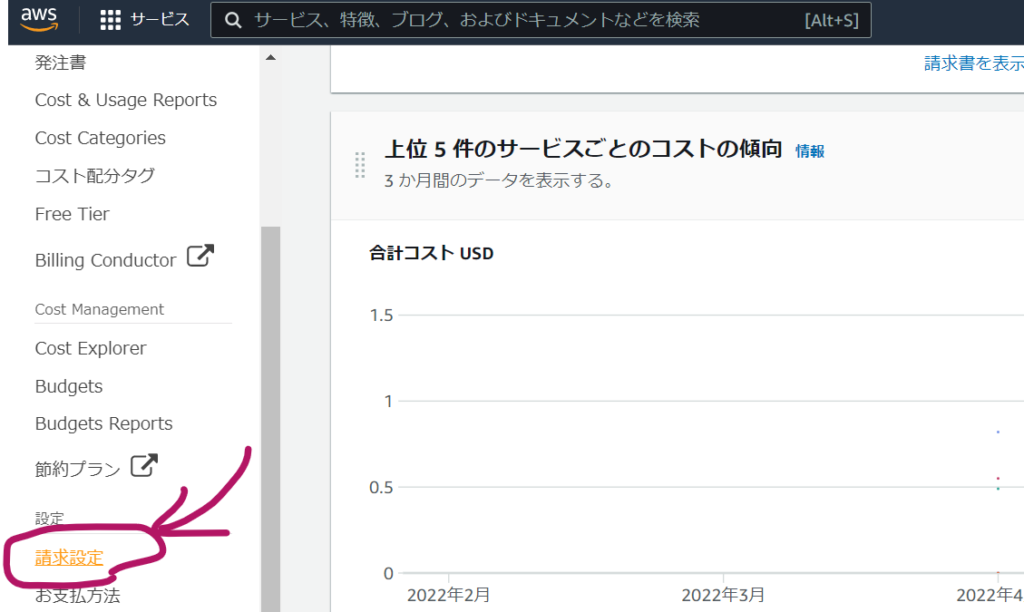
First, go to the billing dashboard ( Pulldown will appear by clicking your account name top on the right)

Second, click billing settings from the menu on the right
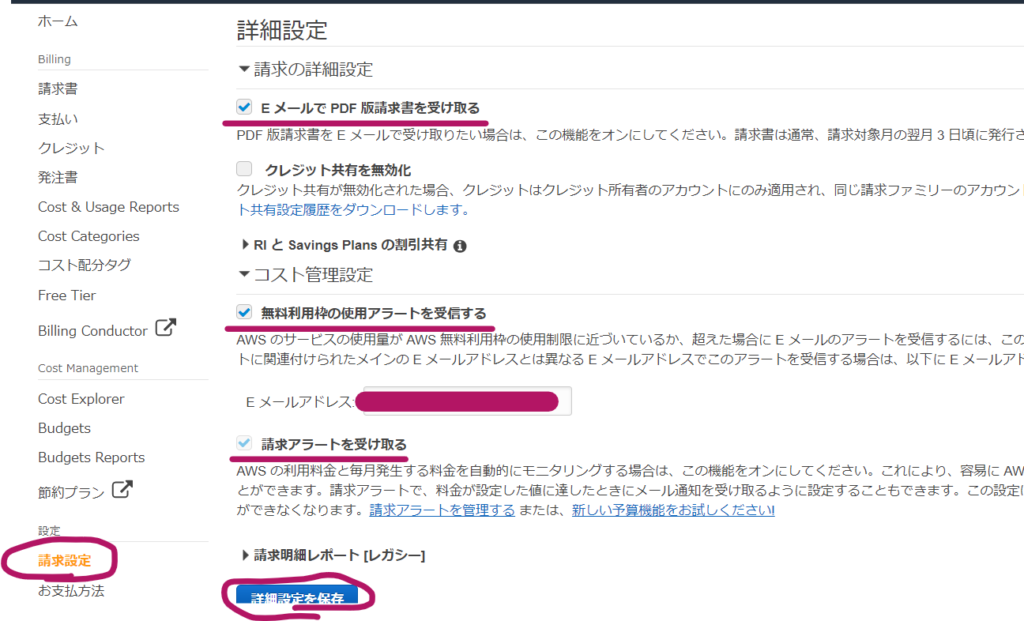
Then, detail settings will show up. Make sure you save the settings by clicking the button below.
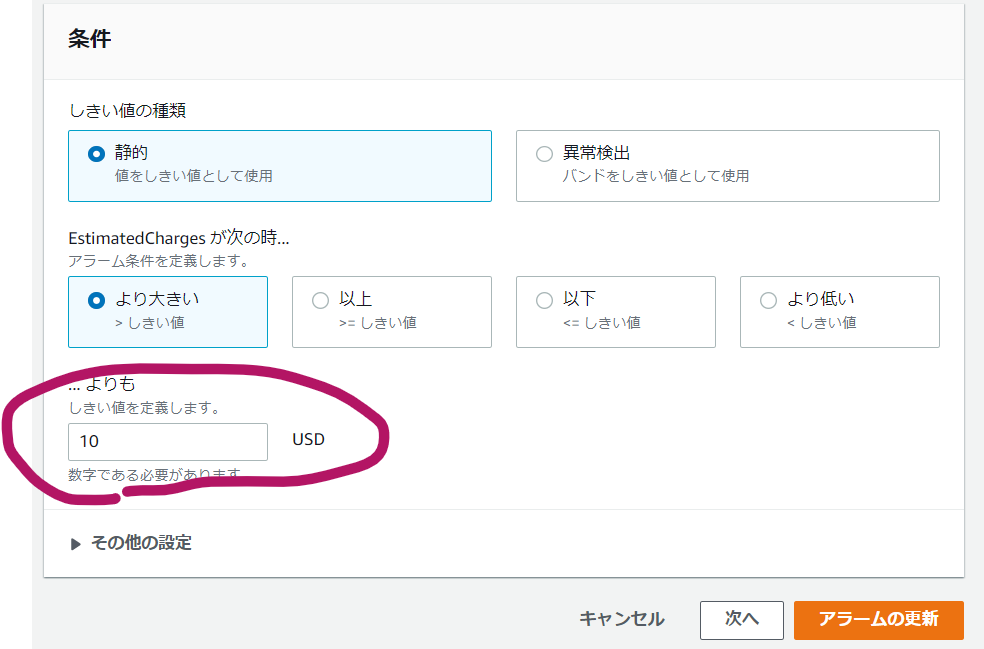
You can create your own Billing Alarm in accordance with your preferences.
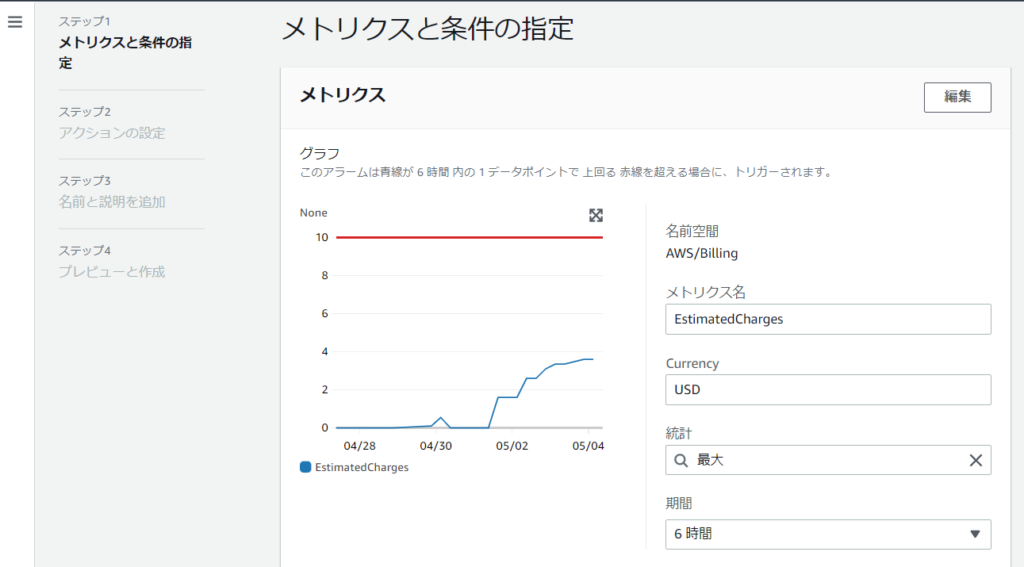
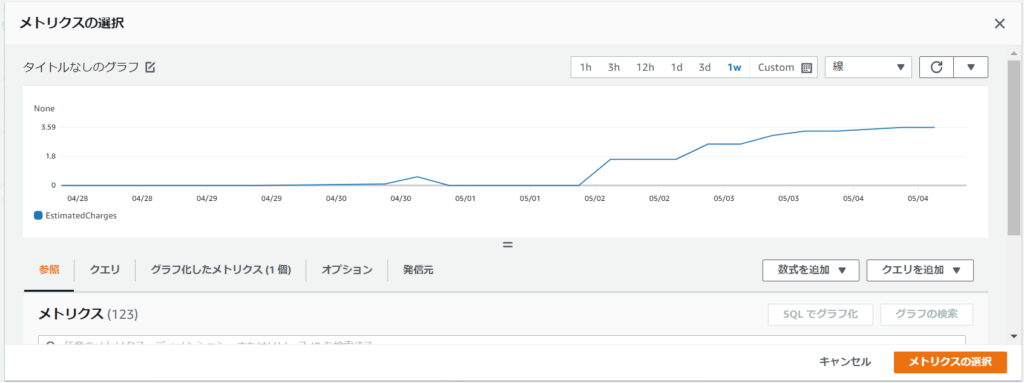
Set the amount you want to receive the Billing Alarm
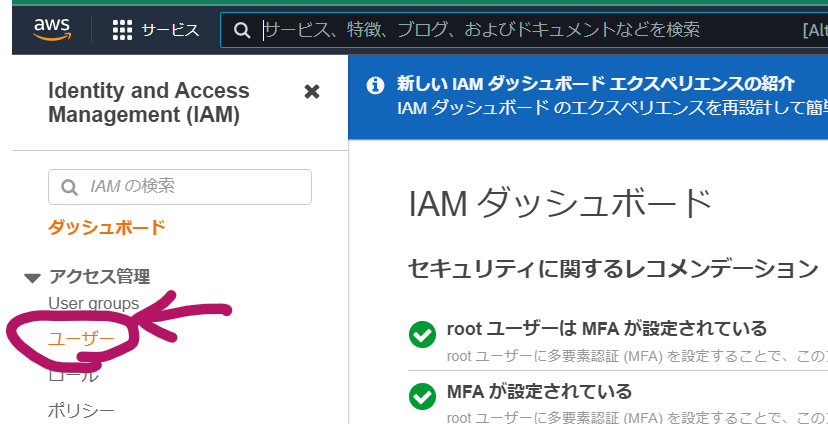
Create a working user with IAM
Do not continue working as the root user, but create a working user in IAM and use the IAM user for future work.
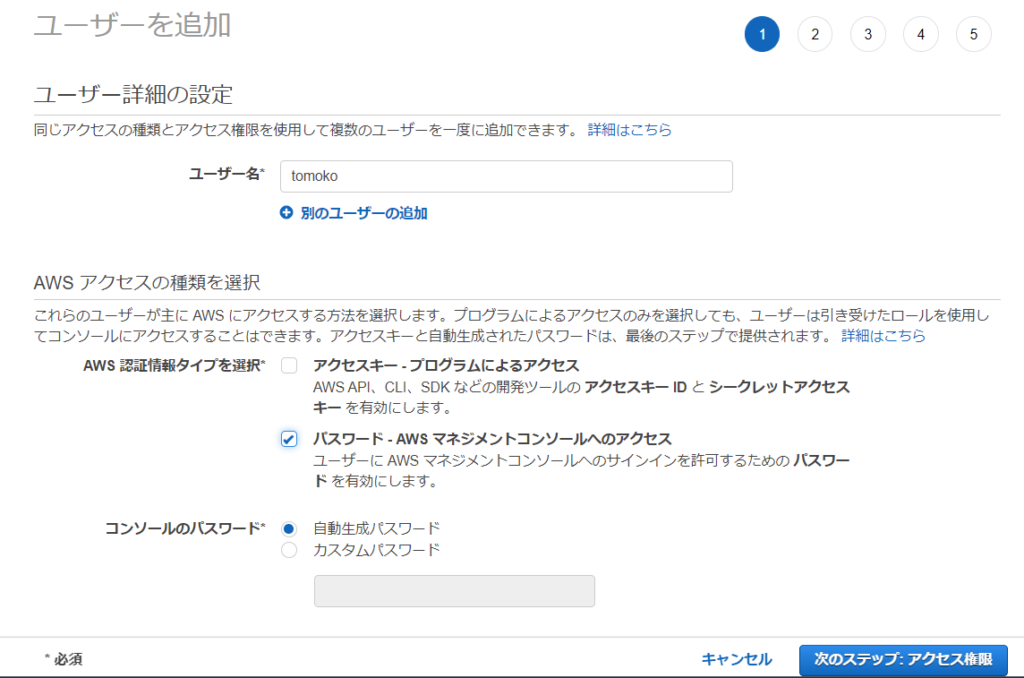
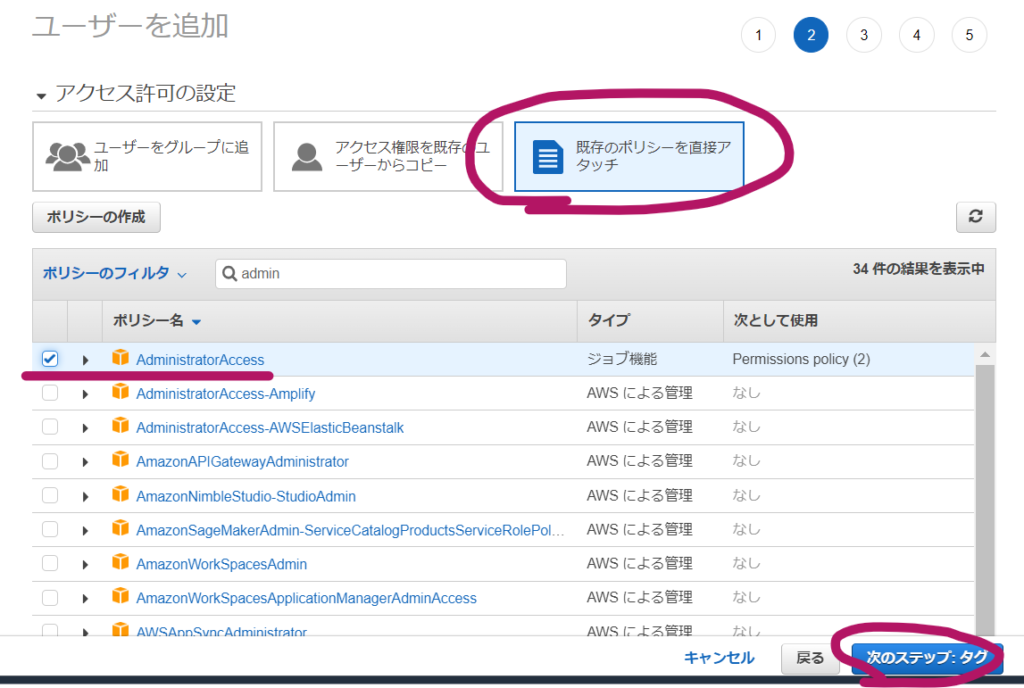
Click Create User and set how the user can login
Give AdministratorAccess to the 1st IAM user.
After clicking the Next Step for adding tags, you can add tags if you’d like to, in my case, I just skipped and created the User.
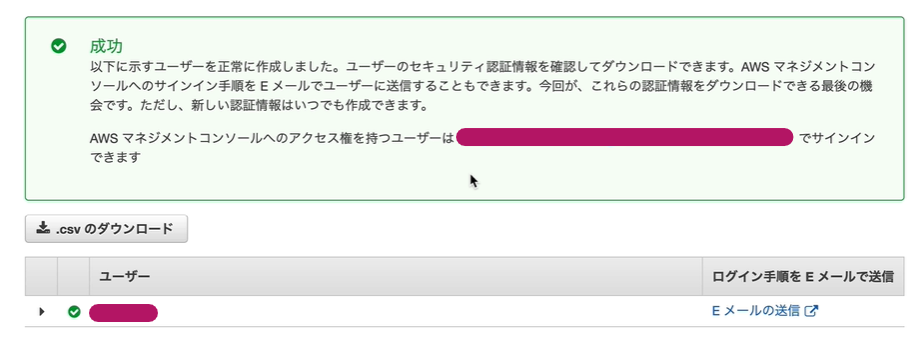
When created, make sure you take notes of the URL and download csv for login info to login as a IAM user (instead of a root user)
Manage logs with CloudTrail
Logs are automatically stored for 90 days by default, but can be stored for longer periods by setting the log destination to S3 with CloudTrail
CloudTrail usage fee is free, but S3 usage fee is charged
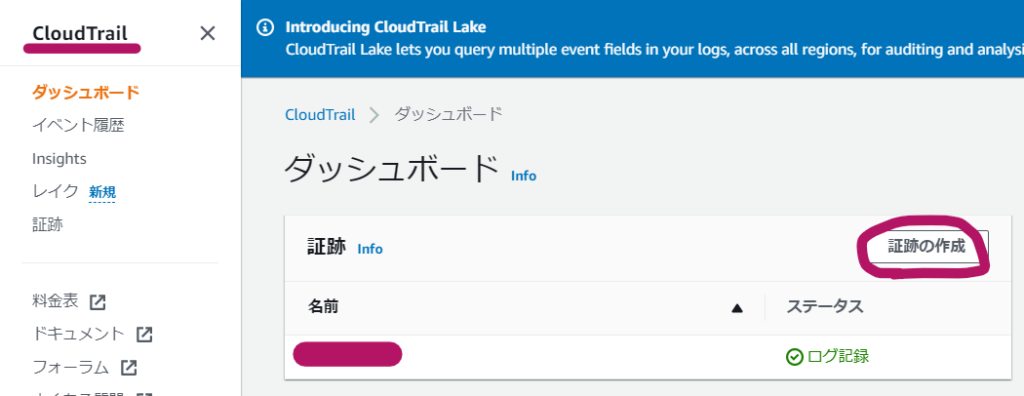
First, open CloudTrail and click Create Trail
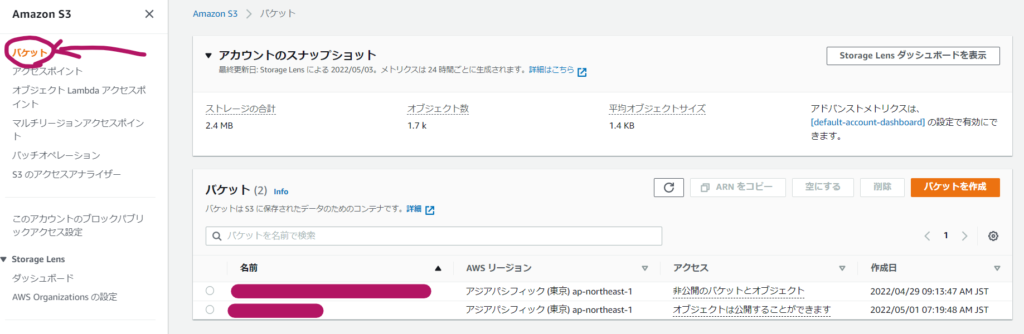
S3 bucket names must be unique

Saved logs are stored in a folder in S3
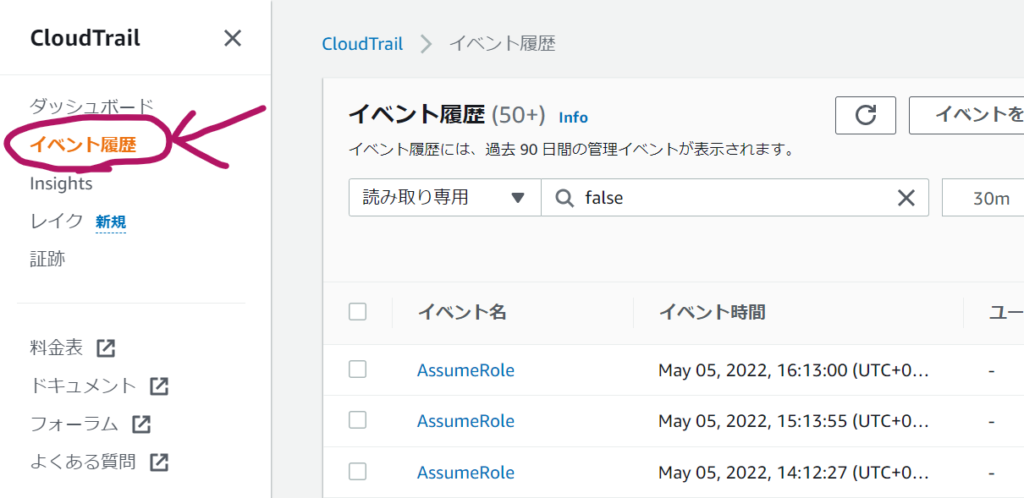
Event history provides log details
Summary of Initial Setup
- Create an account (root user with admin auth)
- Billing Alarm Settings
- IAM user for safe development
- CloudTrail for logging